
DIY Tiered Water Fountain
A Budget-Friendly Outdoor Project Looking for an easy way to upgrade your outdoor space? This DIY tiered water fountain is a simple, budget-friendly project that creates a beautiful focal point in your yard or courtyard. Originally created in 2014, this project has been updated with clearer, step-by-step instructions to help you build your own outdoor fountain with... The post DIY Tiered Water Fountain appeared first on ADDICTED 2 DIY.
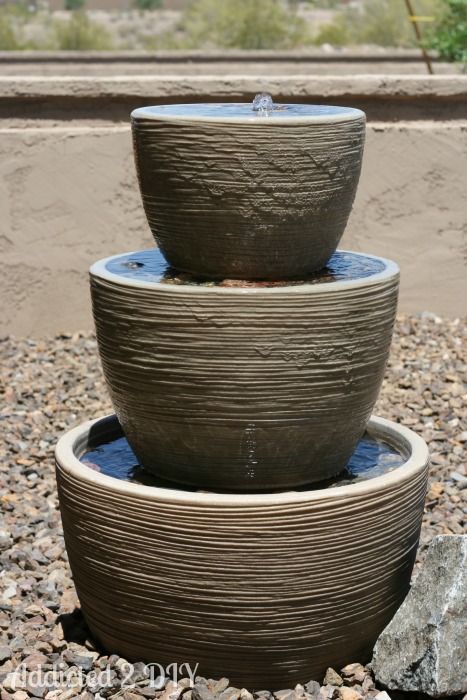


A Budget-Friendly Outdoor Project
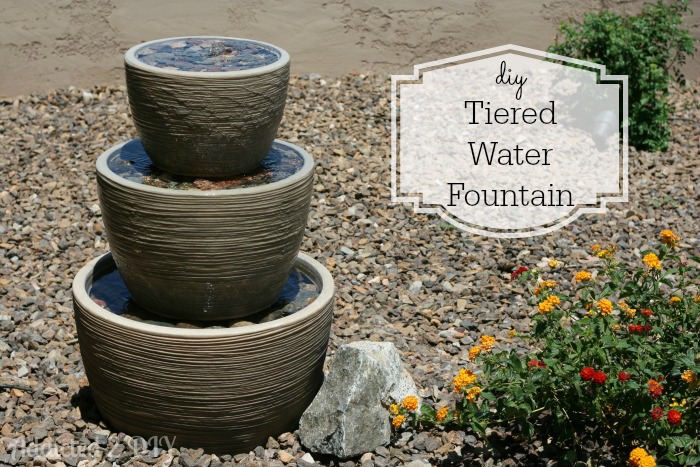
Looking for an easy way to upgrade your outdoor space? This DIY tiered water fountain is a simple, budget-friendly project that creates a beautiful focal point in your yard or courtyard.
Originally created in 2014, this project has been updated with clearer, step-by-step instructions to help you build your own outdoor fountain with ease.
Why You’ll Love This DIY Fountain
- Affordable alternative to store-bought fountains
- Easy to customize for any space
- Adds relaxing water sound to your yard
- Uses simple materials (and even rocks from your yard!)
Materials Needed
- 3 different sized planters (PVC or resin planters from your local home improvement store work great)
- Submersible water pump
- 1/2″ rubber tubing
- Drill + drill bit (large enough for tubing and pump cord)
- Two-part epoxy putty (recommended for sealing holes)
- Pavers or bricks (for stacking support)
- Decorative rocks
How to Build a DIY Tiered Water Fountain
Step 1: Choose and Size Your Pots
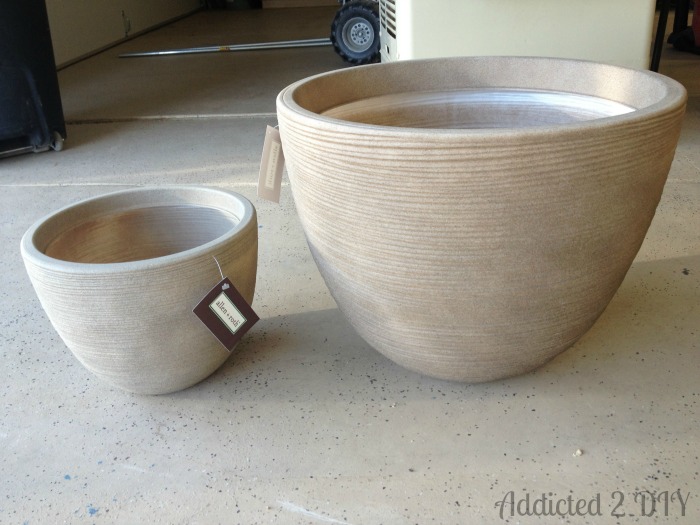
Start by selecting three planters in graduated sizes. If you have a larger space (like a courtyard), using three pots instead of two creates better visual impact and scale.
Step 2: Drill Holes for Pump and Tubing
- Drill a hole in the bottom pot large enough for the pump plug to pass through
- Drill holes near the base of the upper pots for the tubing