
How To Build A Barn Door
This is how I built a custom knotty alder barn door to close off our bathroom: a tongue-and-groove panel set inside a rail-and-stile frame, with angled trim on the face. It’s one of the more advanced ways to build a barn door, and I picked it on purpose to push myself. A year earlier, we... The post How To Build A Barn Door appeared first on ADDICTED 2 DIY.
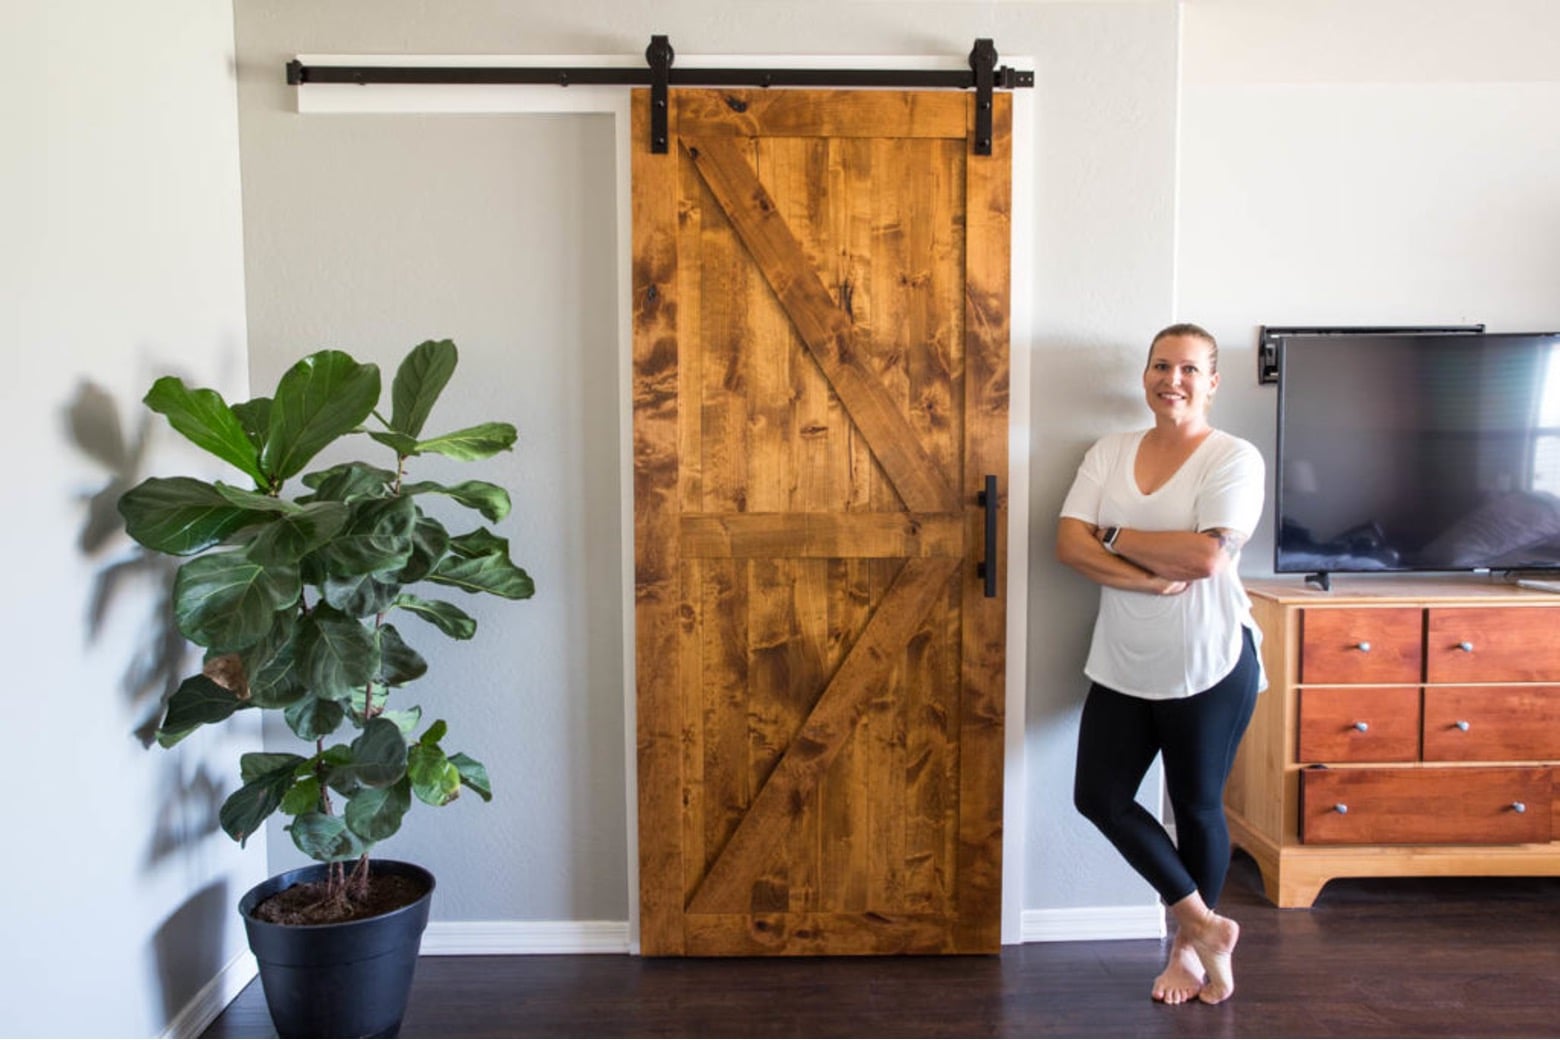


This is how I built a custom knotty alder barn door to close off our bathroom: a tongue-and-groove panel set inside a rail-and-stile frame, with angled trim on the face. It’s one of the more advanced ways to build a barn door, and I picked it on purpose to push myself.
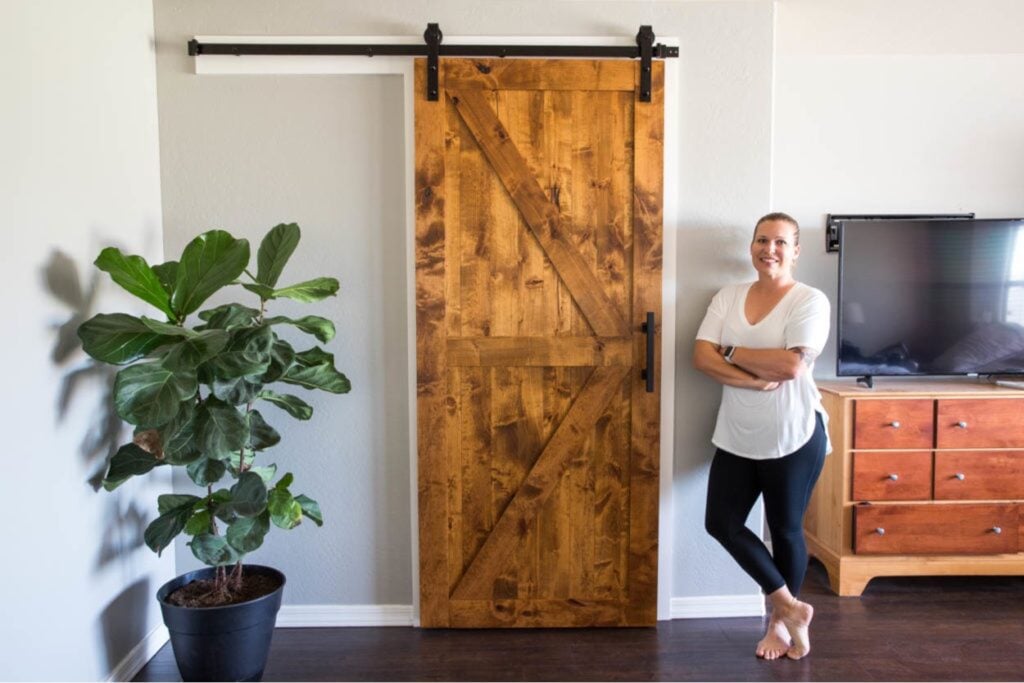
A year earlier, we walled off the opening between our bedroom and bathroom and framed in a doorway. Then the door sat on the to-do list. Home projects are a marathon, not a sprint, right?
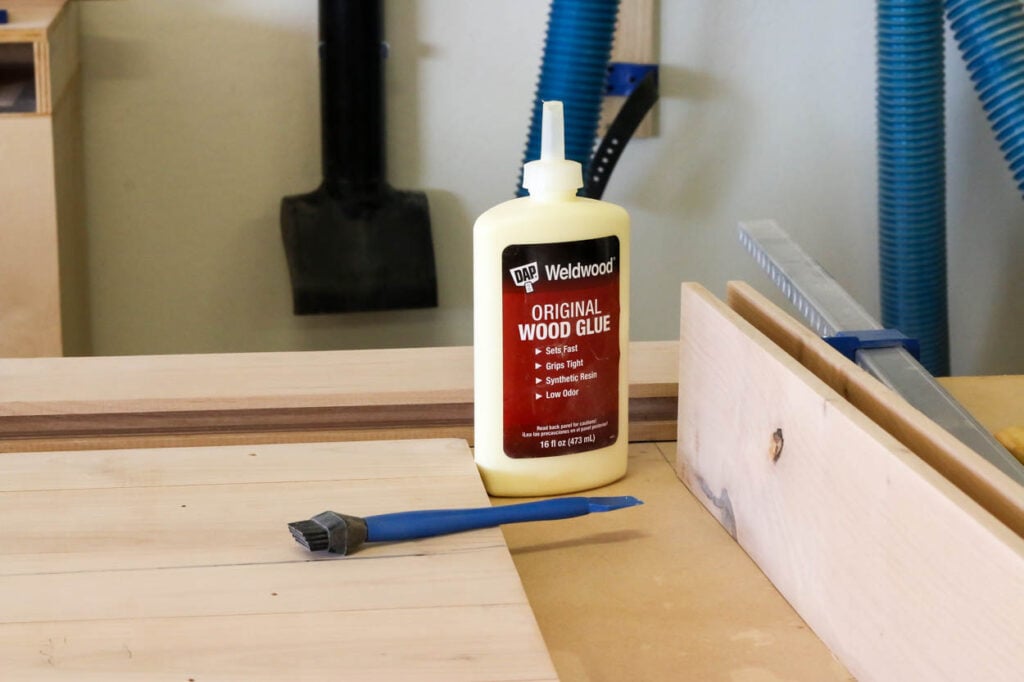
I partnered with DAP Products on this build and used three of their products along the way: Weldwood Wood Glue, Premium Wood Filler, and Alex Flex sealant for molding and trim.
One heads-up: this isn’t a cut list. My door was sized to our doorway and to 6-foot barn door hardware, so your numbers will be different. What you’ll get here is my process, what I learned, and where I’d slow down next time.
Watch the video
What You’ll Need
Size your door around two things: your doorway opening and the length of your barn door track. Read the hardware instructions before you cut anything. They tell you the exact door height to build to.
Materials
- 6/4 knotty alder (rails and stiles)
- 4/4 knotty alder (door panel and face trim)
- DAP Weldwood Wood Glue
- DAP Premium Wood Filler
- DAP Alex Flex sealant for molding and trim
- Golden oak stain
- Wipe-on polyurethane
- 220-grit sandpaper
- 3/4″ pin nails
- 1×6 pre-primed pine board (header)
- 2 1/2″ wood screws
- Paint for the header
- Barn door hardware kit (mine has a 6′ track)
- Barn door handle kit
Tools
- Table saw
- Jointer
- Planer
- Router table with a tongue-and-groove bit and a 5/8″ straight bit
- Drum sander (or orbital sander if your joints line up well)
- Bandsaw
- Miter saw
- Pin nailer
- Bar clamps and a rubber mallet
- Speed square and tape measure
How to Build a Barn Door, Step by Step
Step 1: Mill the rails and stiles
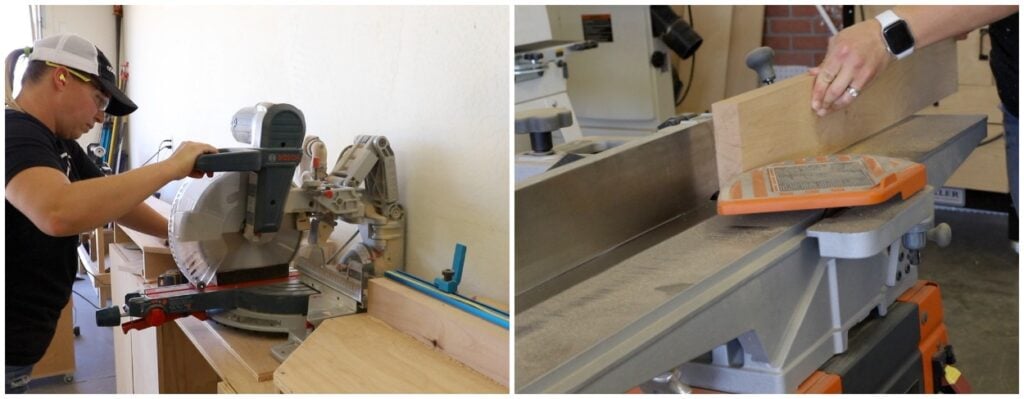
I cut the 6/4 alder to length, ripped it to about 4 5/8″ on the table saw, then ran the edges over the jointer to a final width of 4 1/2″. Flat, straight edges here make every joint later easier. Set these aside.
Step 2: Mill and rout the panel boards
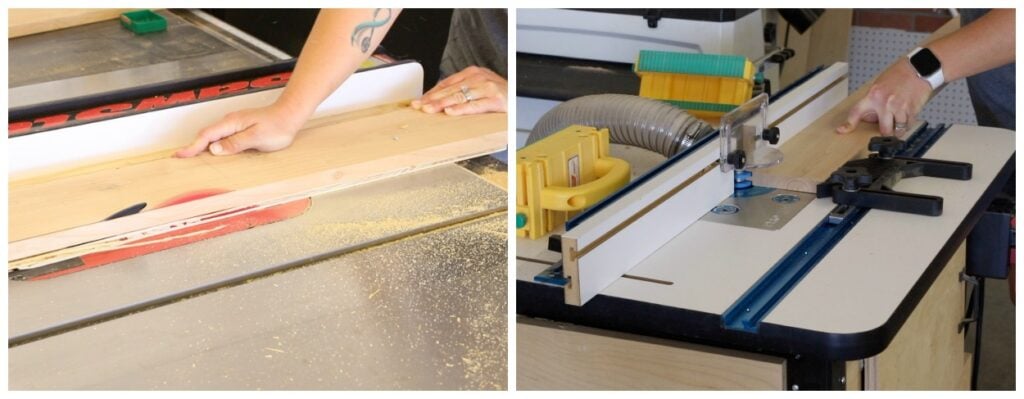
For the panel, I cut a straight edge on the 4/4 alder and ripped each board as wide as it would allow. My boards weren’t all the same width, so I made sure the total added up to the panel width I needed. Then I planed them to 3/4″ thick.
At the router table, I used a tongue-and-groove bit to cut the grooves and shoulders on every board.
Step 3: Glue up and flatten the panel
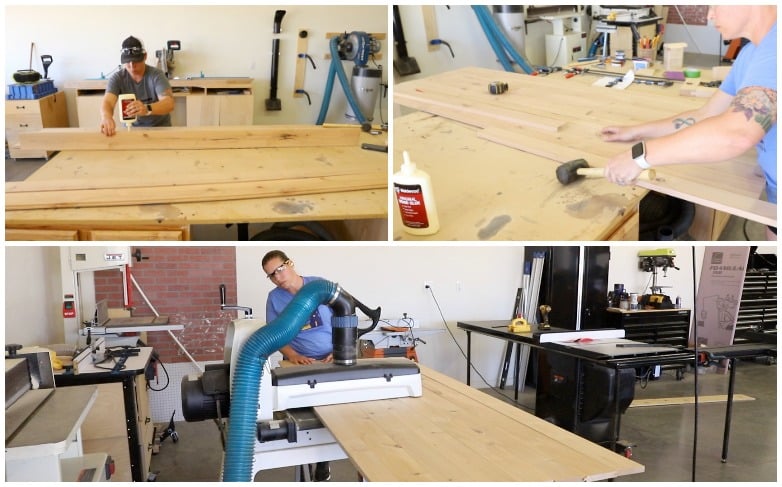
I glued every joint with Weldwood Wood Glue, tapped the boards together with a mallet, and clamped the panel until the glue cured.
Then I ran it through the drum sander. My router bit wasn’t set up exactly right, so the boards didn’t sit flush. Flattening them took the panel from 3/4″ down to 5/8″. Lesson learned: dial in your bit height with test cuts on scrap. If it’s dead on, an orbital sander is all you need.
Step 4: Cut the grooves and tenons
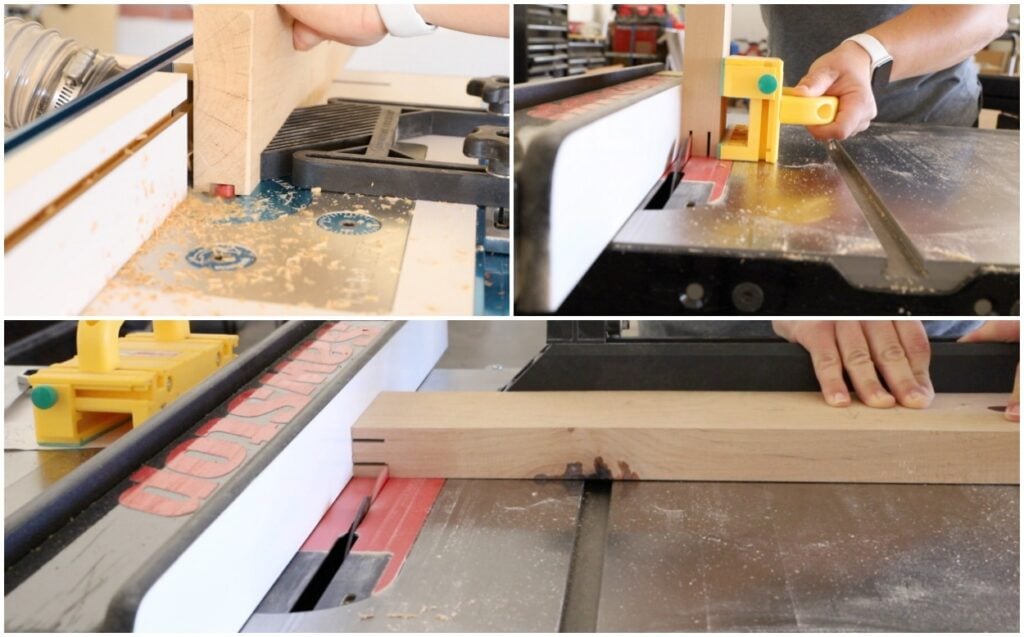
With a 5/8″ panel, I needed a 5/8″ groove, so I put a 5/8″ straight bit in the router table. The groove is 1″ deep. Don’t take that in one pass. It can burn the wood or break the bit. I raised the bit about 1/4″ at a time until every rail and stile had a full 1″ groove.
Next came the tenons on the rails (the top and bottom pieces of the frame; the stiles are the sides). Getting the blade height and fence position right meant accounting for:
- The exact thickness of the wood
- The 1/8″ blade kerf
- The width of the groove
It took a lot of math and test cuts. They still weren’t perfect, but everything held together tight at assembly.
Step 5: Dry-fit, then glue up the door
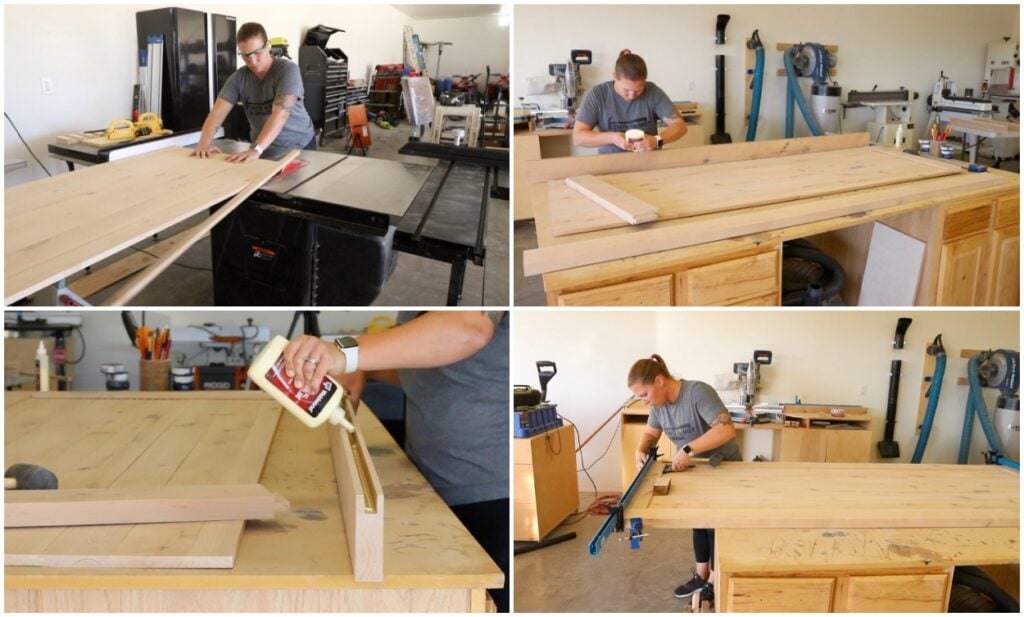
I cut the panel to final size and dry-fit the whole door before any glue. That’s where you catch problems while they’re still easy to fix.
Then I glued the grooves, knocked everything together with a rubber mallet, and snugged up the bar clamps. Before the glue set, I checked that the joints were flush and the door was square, using a speed square and diagonal measurements. If both diagonals match, it’s square.
The door came out square, flush, and exactly the size I needed.
Step 6: Add the face trim
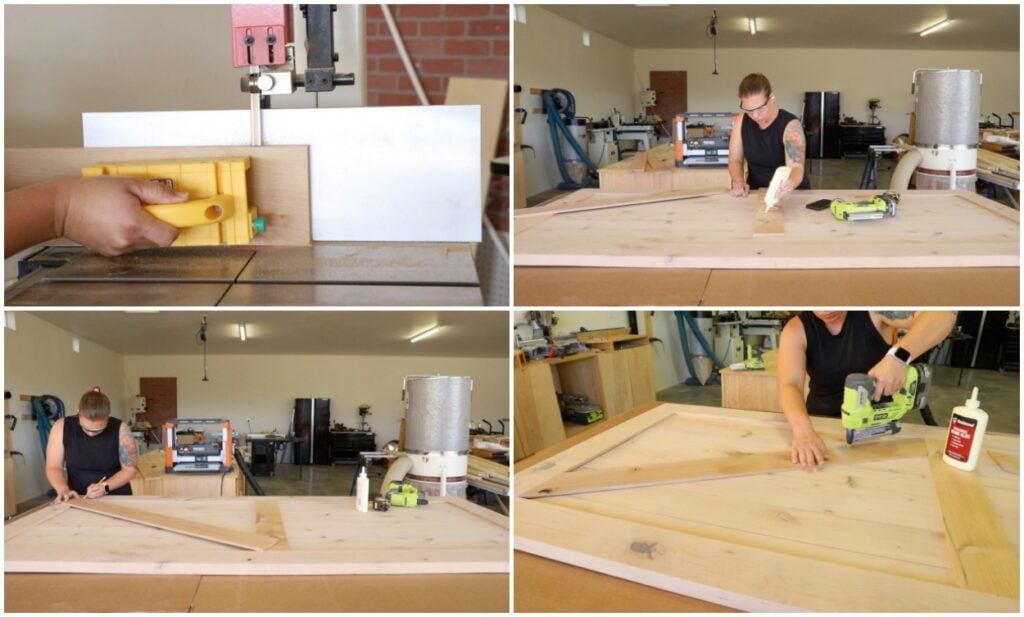
I went with a traditional barn door look. I ripped more alder to 4 1/2″ wide, resawed it on the bandsaw to about 7/16″–1/2″ thick, then planed it to a uniform thickness so it sat flush inside the frame.
The center board went in first, centered, glued, and nailed with 3/4″ pin nails. For the angled boards, I laid each one in place, marked where it crossed the frame on both sides, connected the marks with a speed square, and cut the angle on the miter saw. Then glue and pin nails, and repeat on the other half.
Step 7: Fill, stain, and seal
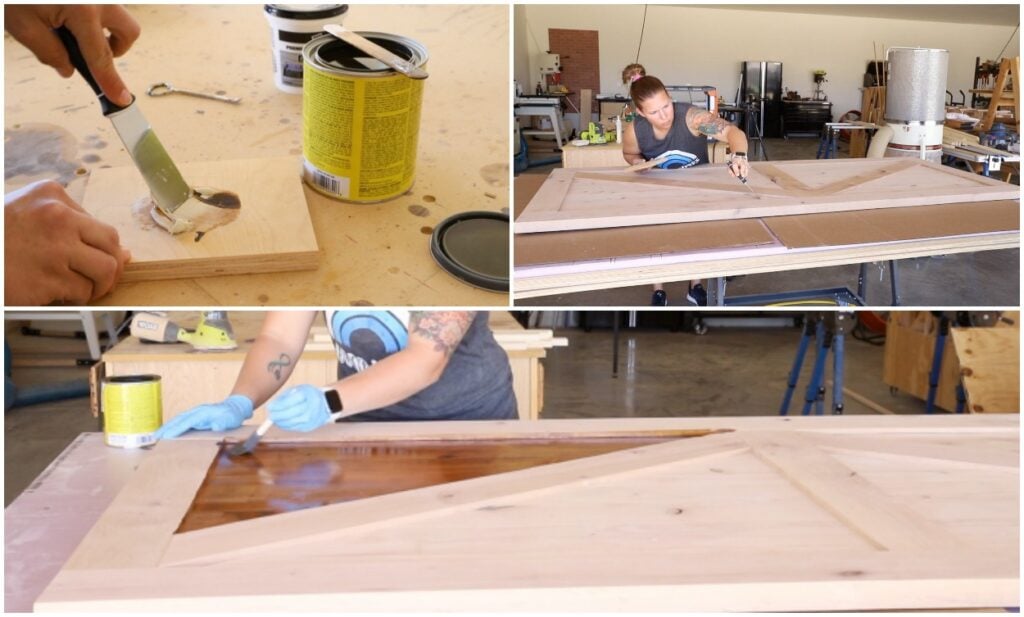
The panel had a bunch of screw holes left from my straight-line jig. I mixed DAP Premium Wood Filler with my stain before filling. Its color-matching chameleon technology helps it blend with the surrounding wood once stained.
Once it dried, I sanded and stained the door golden oak. The filler took the stain really well. You can find the spots if you look for them, but it’s filler, not new wood, and they blend in nicely.
I finished with three coats of wipe-on polyurethane on both sides, sanding with 220 grit between coats.
Step 8: Install the header
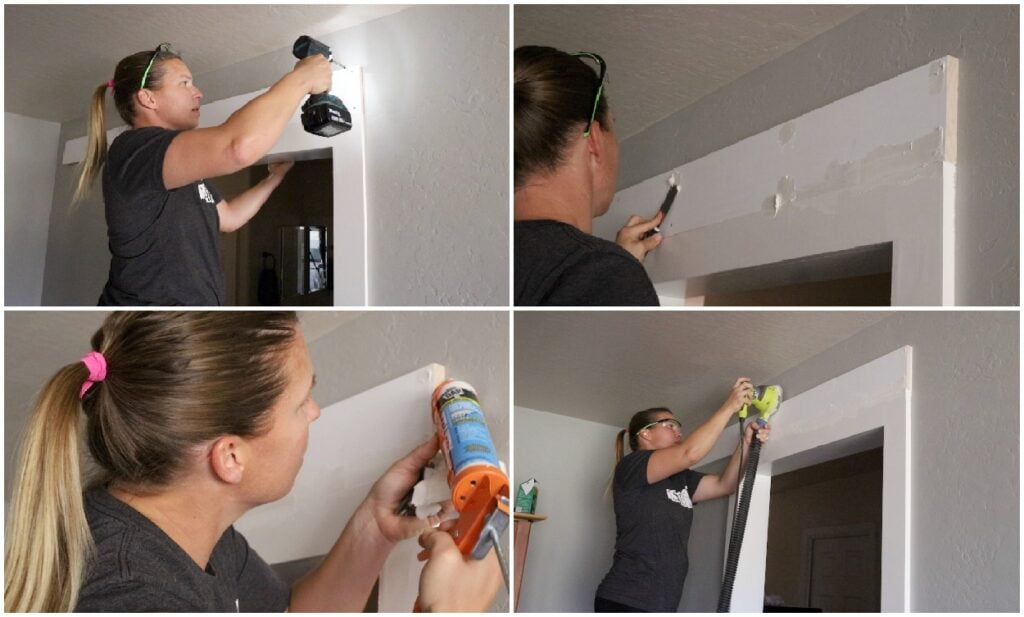
While the finish dried, I prepped the doorway. I mounted a pre-primed 1×6 pine board above the door trim as a header, screwing it into the studs with 2 1/2″ wood screws. I countersunk the screws slightly, then filled them and feathered filler into the seam between the trim and header.
I caulked around the header with Alex Flex and sanded the filler smooth once it dried.
Step 9: Paint and mount the hardware
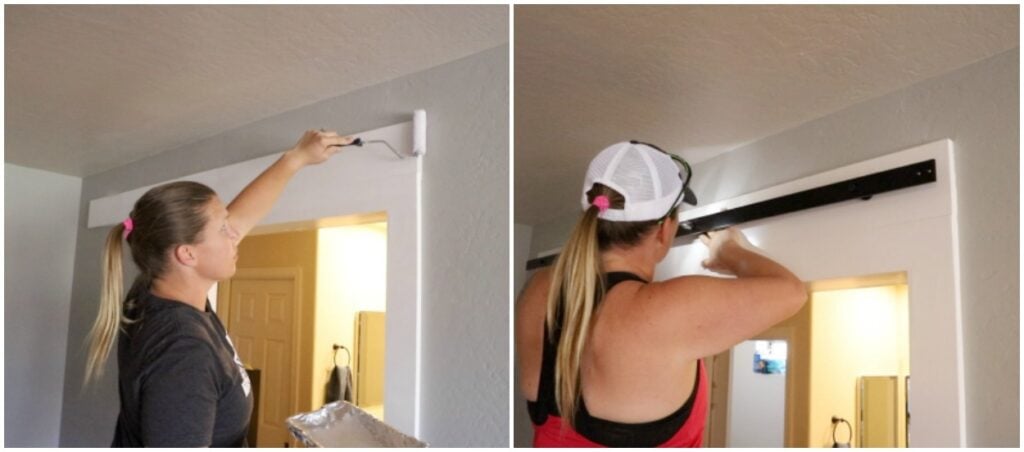
Two coats of paint went on the header, and it dried overnight. Then I installed the barn door track following the manufacturer’s instructions.
Step 10: Hang the door
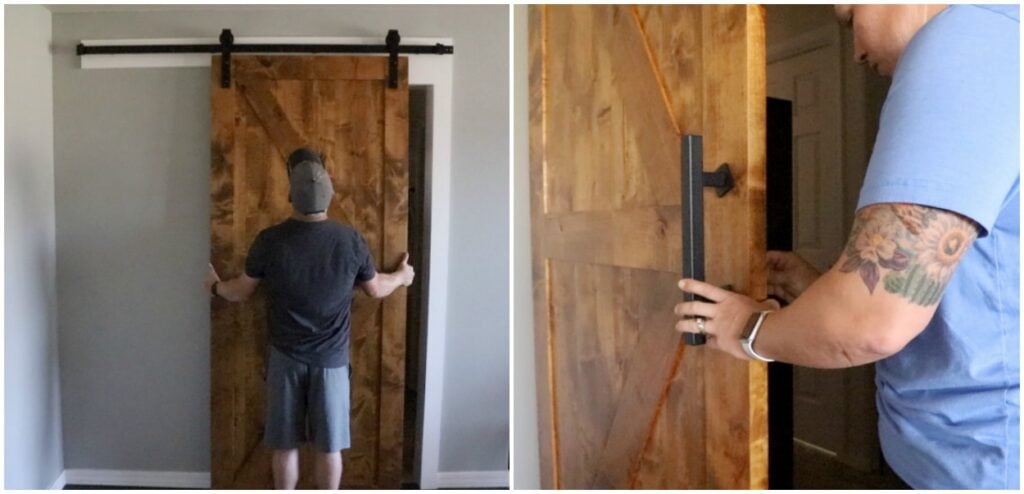
My husband hung the door on the track, and I finally exhaled when it fit exactly as planned. I added a handle kit from Amazon and called it done.
The last piece is the floor guide that keeps the door from swinging. I didn’t take a pic of this step but I purchased it on Amazon and it works amazing.
What I’d Do Differently
Most of my headaches came from rushing. If you’re building one of these, here’s where to slow down:
- Test your tongue-and-groove bit on scrap first. A slightly-off bit cost me 1/8″ of panel thickness and a lot of sanding.
- Mill the panel before you buy the groove bit. Your final panel thickness sets the groove size, so measure after flattening.
- Cut test tenons. Factor in wood thickness, blade kerf, and groove width, and check the fit on scrap before cutting your real rails.
- Always dry-fit. It’s the cheapest insurance in the whole build.
- Have the floor guide bit on hand before you hang the door. That way the door is truly done on install day.
Barn Door FAQ
What wood is best for a barn door?
I used knotty alder. It’s easy to work, takes stain well, and the knots give it that rustic barn door character. Pine is a cheaper option, and hardwoods like oak work if you want something heavier.
How big should a barn door be?
It depends on your opening and your hardware. Build the door wide enough to cover the opening and trim, and follow your hardware’s instructions for height. I sized mine around our doorway and a 6′ track.
Do I need a jointer and planer to build a barn door?
For this rail-and-stile method, they help a lot. Flat, square stock is what makes the joints fit. If you don’t have them, a simpler plank-style door is a better place to start.
Why does my barn door swing at the bottom?
It needs a floor guide. I found this one on Amazon and it works perfectly for our door.
The Finished Door
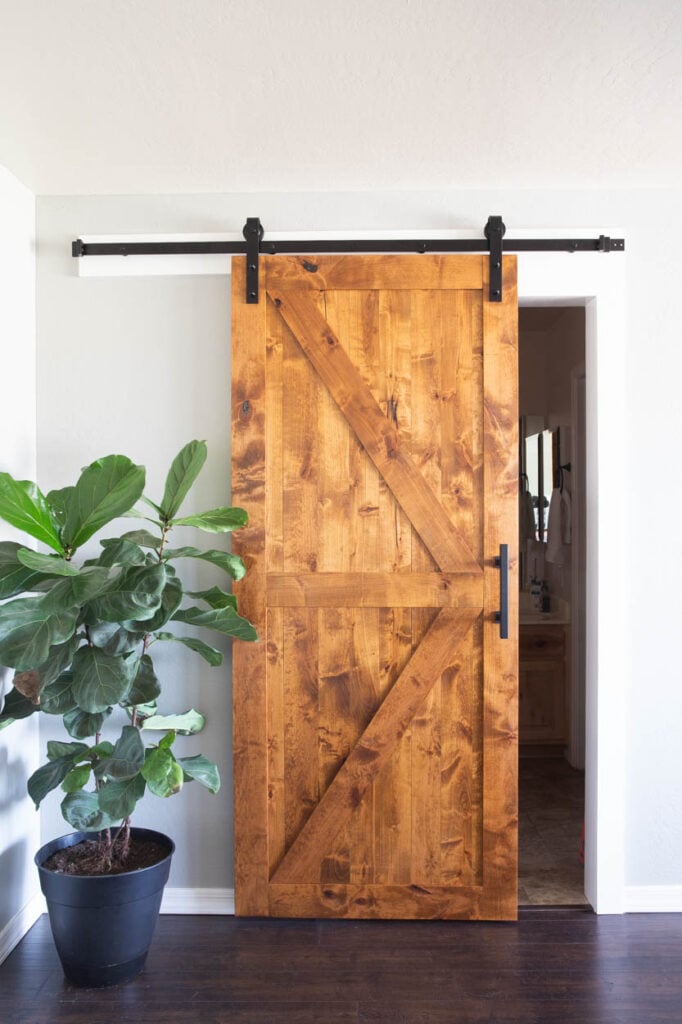
The process wasn’t perfect, but the door turned out exactly how I pictured it. After 10 years with no door between our bedroom and bathroom, it’s so nice to finally have that separation. My husband and I are both still a little worried we’ll forget it’s there one night and walk right into it.
If a barn door is on your list, I hope my process (and my mistakes) save you some time. Thanks again to DAP Products for partnering with me on this project and video.
Disclosure: I was provided product and/or compensation for this post. All opinions and ideas are 100% my own.
The post How To Build A Barn Door appeared first on ADDICTED 2 DIY.
What's Your Reaction?